I have decided that I want to start a new "segment" of sorts on my blog called Make it Mondays. I have seen this idea floating around the interwebs and since I am a pretty crafty person I will feature different things I have made on Mondays. Woohoo!
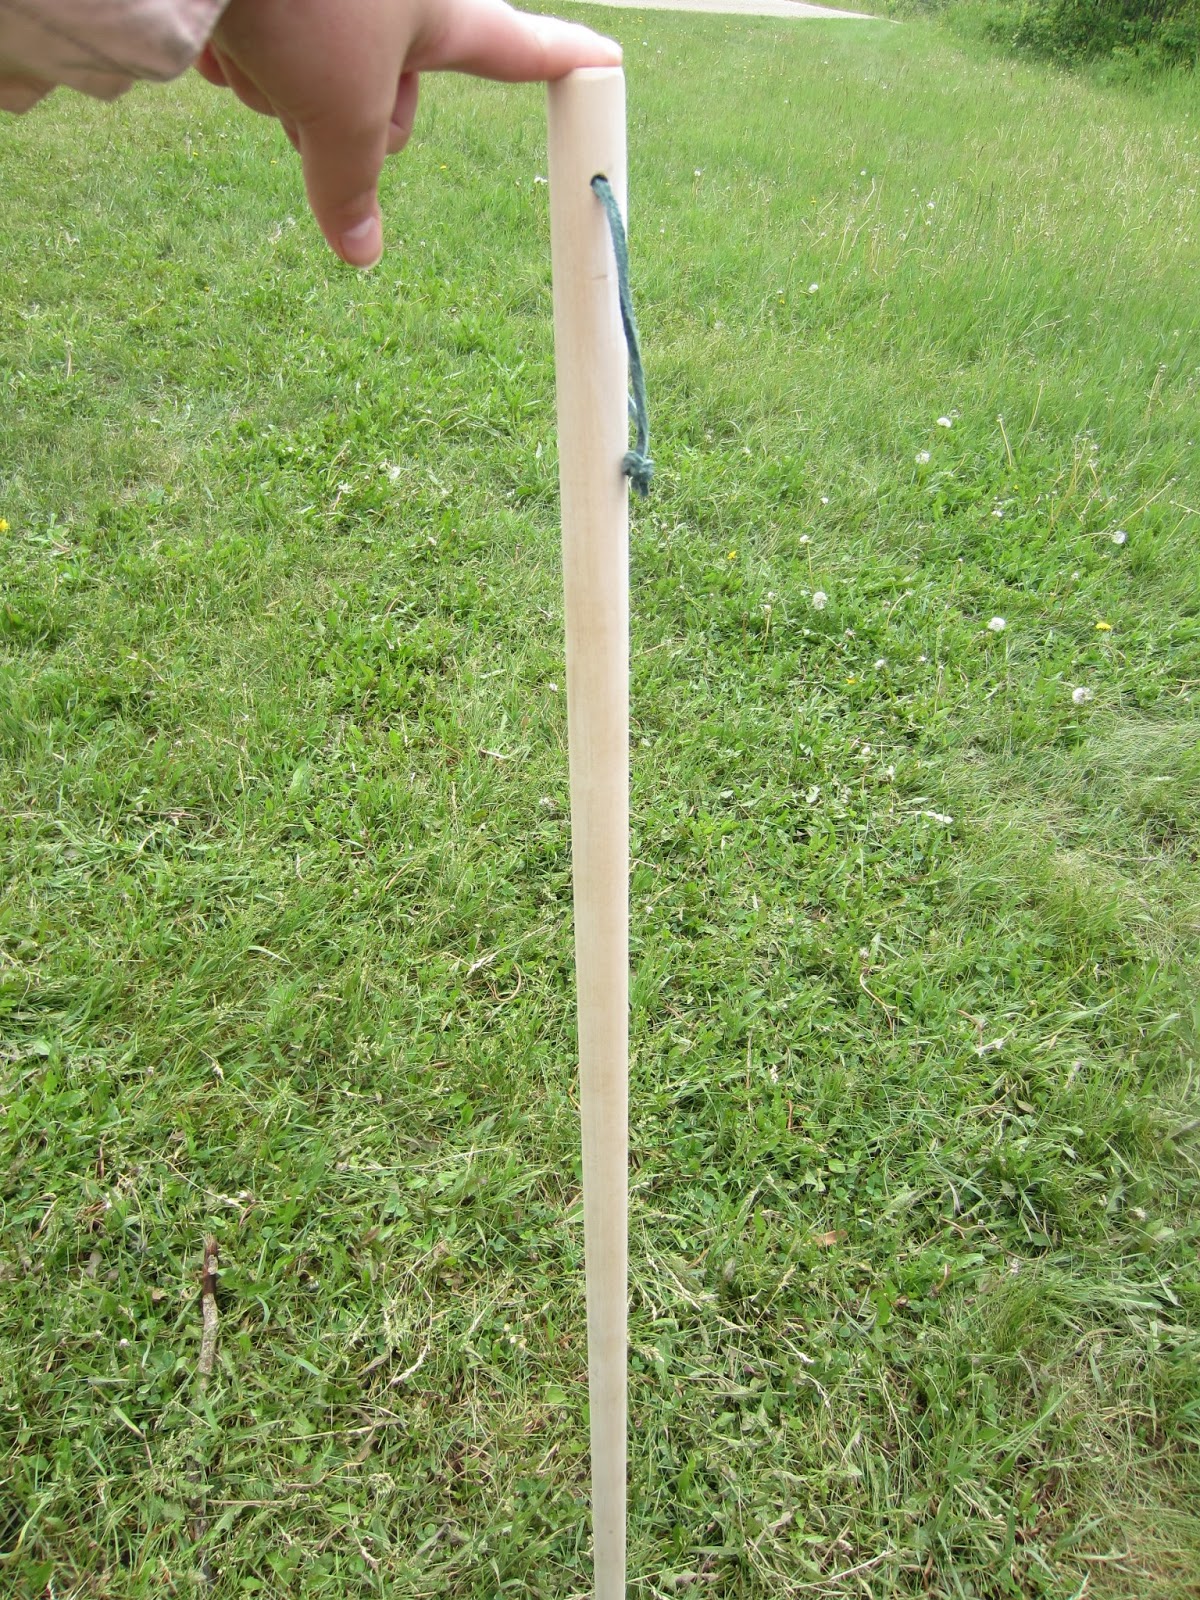
The first Make it Monday is going to be the tracking stick I made at the Camping Advisers Workshop last weekend. This stick can be useful when you are hiking and looking at animal tracks. It starts with a piece of dowel with a hole drilled through the top to put a piece of leather cord in for a handle.
The next thing is to stain the wood. We used watered down acrylic paint and it went on really nice. I tried to do an ombre type thing, but it didn't work out too well so I just went with it and it turned out pretty nice overall. It dries really fast too (even in the rain!) which is a bonus.

Painting brings out a lot of imperfections in the wood and it gets kind of rough and bumpy so it is best to sand it with a piece of sand paper to get it silky smooth. Once you are done sanding use a j-cloth to get all of the shavings off the stick.

Now that the stick is all prepped and polished the fun begins. Because the tracking stick is not only pretty it has a purpose, to measure the stride of animals, size of tracks etc. there has to be some markings on them! Luckily the painters tape we were using is exactly one inch thick so that can be used to paint markings with a specific measurement.

I was obviously very focused on getting my tape on straight. :p

I chose to do five pieces of tape but you could do as many as you wanted.

Now it is time to paint! I chose some pretty colours and got started! These are acrylic paints, in case you were interested.

The painters tape definitely did its job, but if I was doing this project again I would definitely make sure that the tape was "sealed" against the wood because it did run a little bit and had to be fixed up.

Once the paint tried I took off the tape and painted the wood in between white. After the fact I wished that I would have left them plain, but I always do that with crafts...

The final touches I made included polka dots on the white (to cover up my lack of foresight on how it would look) and I also lightened up the third turquoise colour to make it fit in the colour scheme a bit better.

Time for decorating! I used stamps to make these tracks on tissue paper. I cut them out and then mod-podged them onto the stick. I love these track stamps! We used them to make track rocks for a game at our last camping adviser workshop which you can read about here.

We also used paper napkins that had butterflies on them to decorate the sticks. After carefully cutting them out and peeling the layers apart (who knew napkins had 3 layers!) we mod-podged them onto the sticks.


I also stuck a ruler on the bottom for smaller measurements.

Et voila! Here is my completed tracking stick in all its glory.

The last thing that needs to be done is put a clear coating on the stick to weather proof it and keep it all together. We used a clear spray varnish in an oh so attractive pose to get the whole stick covered.

There you have it! I hope you enjoyed my first Make It Monday post! Thanks for reading!
No comments:
Post a Comment