Friday, June 20, 2014

Oh the Places You'll Go Advancement Ceremony!

A tradition in our district is to have a district wide advancement ceremony. Since we were all out at camp anyways we thought it would be best to have advancement there. Heather (my sister) and I took on the task of planning and running advancement for over 130 people. I love the book "Oh the Places You'll Go" by Dr. Seuss so we used this, and transportation as a theme for Where in the World is Gofer Guiding Camp. 


As a thank you, we made little hot air balloons filled with candies for the leaders at camp. I think they are super cute and they were inexpensive and easy to make. 


We decided that the best way to do advancement would be to have each branch of girls be a city that advancing girls would move to; so Sparks would move from Sparks City to Brownieville and Rangers would move from Ranger Park to Guideropolis. Heather put a lot of work into the signs so I wanted to show them off. :) 

All of the units sat in their respective city and had to move from city to city by a special kind of transportation... keep reading to see what those modes of transportation were! 


The Guides moved from Guidetopia to Pathfinderton by boat. This boat was actually a Halloween costume I had a few years ago. I was thrilled to use the S.S. Soggy again! 


The Sparks moved from Spark City to Brownieville by a steam train. This was made using cardboard, paint and paper plates for the wheels.Thank goodness we had a spare room to use in my parent's house to make all of these props!


There are a ton of Brownies in the district so we had a really fun idea. We thought it would be cool to show up in Brownieville with a little school bus. When we asked all the advancing girls to come on board to Guidetopia we realized that we would need a bigger bus. I was at the front of the bus and Heather was at the back- we worked our magic and expanded the bus to fit all of the girls on. We used cardboard, plastic tablecloths- for the folded part, and paint to make this awesome school bus! 


There was only one Ranger who was finishing her girl program and we wanted her to feel extra special. There was only one way to get from Ranger Park to Guideropolis- a rocket ship! This one has a cardboard base, a paper plate for a window, paint for colour, and an emergency blanket to be nice and shiny! 


The last mode of transportation from Pathfinderton to Ranger Park was a gondola (we were running out of ideas). There were only a few girls moving up so the gondola worked really well. 


Overall the advancement was a huge hit and a lot of girls said it was their favourite part of the whole camp. We read bits of "Oh the Place's You'll Go" in between each group of girls advancing and then gave leader gifts at the end of the ceremony. It was a lot of work to make all of the props, but it was so much fun! 

If you would like a "script" of the advancement ceremony you can get it here! 

Thanks for reading!

Friday, June 6, 2014

Make it Monday: Jello in a Tree!
Today is a really short Make it Monday but it is a lot of fun and easy to do! The Jello Tree is something that I have seen in Guiding since I was a Spark and it is a fun way to share a snack. All you do is make Jello according to the box directions and instead of keeping it in one container and putting it in the fridge, you pour it into sandwich size Ziploc bags and hang it in a tree! 


It takes a few hours to set, but while you are waiting to eat your snack it makes a pretty interesting sun catcher. If you are camping in the warmer months it is best to hang it in the tree overnight as the cooler air will help it set. 


Enjoy! 

Thursday, May 29, 2014

April Camps bring... May Camps!

In April I went to camp with my Guide unit. There was a ton of snow and it was a lot of fun! This was the first camp I had done with this unit and we had a great weekend together. 


The weather was almost eerie- the clouds were heavy and there was a ton of snow, but it wasn't too cold. 


The snow was at this weird consistency where it was solid on the top, but if you stepped on it you went right through. It made for an interesting hike. :) 


No trip to our campsite is complete without a quick trip to the lake. It was so beautiful to see the ice starting to melt on the lake. 


We tried one of my favourite camp cooking techniques- meal in a milk jug. See the whole blog post about it here.  


We had a pretty good spread for dinner; including bacon and eggs for dessert. See how to make this easy, but delicious treat here!


The girls (and I) had fun outside with glowsticks at night. I just love how these photos turned out! 


Almost all of the crafts we did at camp were traders for our upcoming district camp. I found all of these ideas on Pinterest and they all turned out so great. My favourite was definitely the turtle... so cute!


Even though the ground was covered in snow there were little signs of spring everywhere including this moss surrounded by snow. 


After a few weeks I couldn't wait to get back to camp! I love camping, it is the best part of Girl Guides and I look forward to all of the camps I get to do every year. I really enjoyed this camp because my co-leaders were my mom, sisters, and friend. We work really well together and "get" each other and what we need to do. This was not my unit camp so I got to spend time doing what I love- photography. Here are some of my favourites that embody the vibe of the camp!  


Monday, May 5, 2014

Make it Monday: Bacon and Eggs for Dessert

For this week's Make it Monday I thought it would fun to share a recipe with you. We did this at my last Guide camp and the girls really loved it. My mom did this with me when I was a Spark so it has been around for a long time.
 
This is a really easy dish to put together you only need the following ingredients: Halfed canned peaches, whipped cream in a can, and chocolate covered "fingers."
 
 
Step One: Put the peach (egg yolk) on a plate.
 
 
Step Two: Spray whipped cream (egg white) around the peach. I personally don't like whipped cream so I just have a yolk when I make this dessert.
 
 
Step Three: Put chocolate wafers (bacon) on the plate.


Step Four: Enjoy!


Again this is a really easy dessert that any branch can make and it is a fun twist on "breakfast for dinner"
 
I hope you enjoyed this Make it Monday, let me know if you used this recipe!

Monday, April 21, 2014

Make it Mondays: Milk Carton Meals

Did you know you can cook an entire meal (dessert included) by lighting a milk carton on fire? Well you can! This Make it Monday is all about Milk Carton Meals!
I learned this method of cooking about 10 years ago at a camp training I went to and it has always been a success. Let me know if you try it out and enjoy!
 
 
The easiest meal to make with this is a hamburger bun pizza because all you are really doing is melting the cheese and heating it up.
Step One: Make a pizza on each half of a pizza bun. Remember the more toppings you have the longer it will take to heat up.
 
 
Step Two: Fold your hamburger bun into a sandwich and put it in the middle of the tinfoil.
 
 
Step Three: Wrap your pizza up in tinfoil so no inside bits are showing. It works best to have a layer of tinfoil, followed by a layer of damp newspaper so the tinfoil won't burn, and then another layer of tinfoil.
 
Chipmunks are on the menu for dessert. You need two two-bite brownies and some kind of mint chocolate candy like a peppermint patty.
 
 
Step Four: Squish them all together.
 
 
Step Five: Wrap them in tinfoil they way you did the pizzas.
 
 
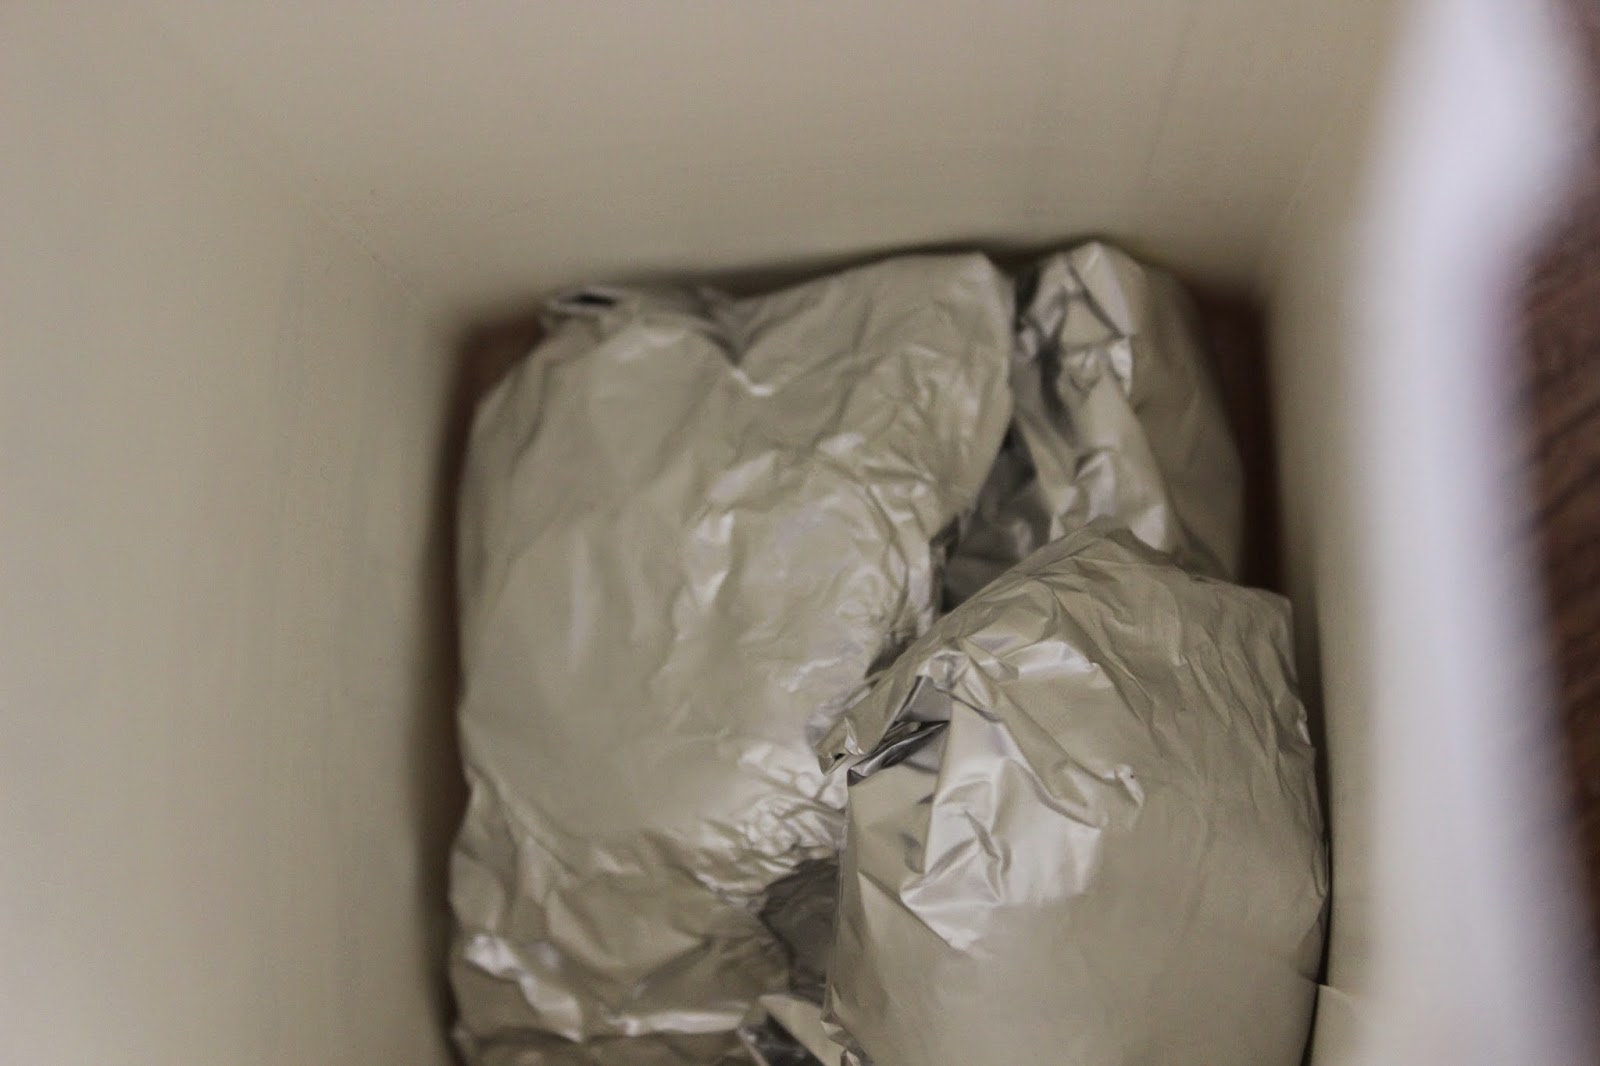
Step Six: Put your tinfoil masterpieces in the bottom of a 2L milk carton. It has to be the paper ones- plastic (obviously) won't work!
 
 
Step Seven: Put your milk carton in a safe place like a snow bank (like we did) or a fire pit in the summer.
 
 
Step Seven: Light it on fire! It will only work if you light it from the very top of the carton.
 
 
Step Eight: Watch it burn!
 
 
Step Nine: When it is all burnt down and the fire is gone you can use some tongs to pick up your foil package. Dispose of any remaining milk carton.


Step Ten: Unwrap your foil package and enjoy!