At Guide Camp a few weeks ago we made these really cool lanterns that are quite easy and have excellent results- it is kind of hard to mess up so I thought- it is a perfect craft for a Make It Monday!
All you need is a tin can, nail, hammer, and a sharpie to make this lantern! Let's get started.

The most important thing about this craft is that you fill it with water and freeze it so that when you are pounding a nail into it it does not collapse on itself. Do not forget this step!!

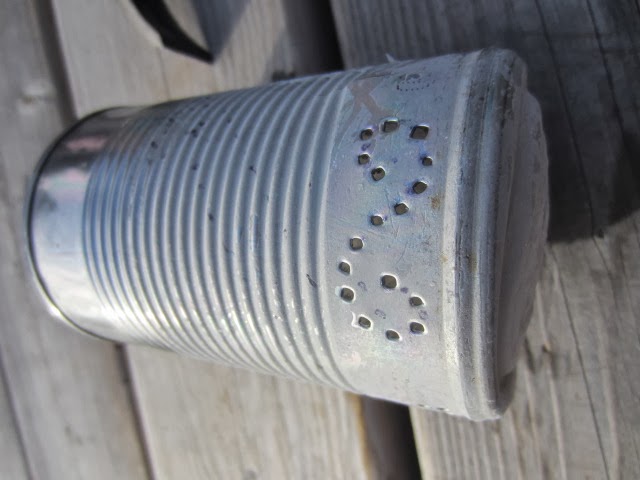
Because I am a very detail and plan oriented person I wanted to plan out exactly what I was going to do on my tin can before I started banging holes in it. I used a sharpie to outline what I wanted to design on my lantern. My Guiding name is Starshine so I wanted to go with a star theme...

Once everything was planned out I got started punching holes into the tin can. I was wearing gloves for a few reasons, first it is the end of October and second the frozen can was really cold!

Here is one of my designs so far. I am actually happy with how this craft turned out so hooray!
When you have finished creating your design put the can upside down so the ice can melt. Here are all of the lanterns together!

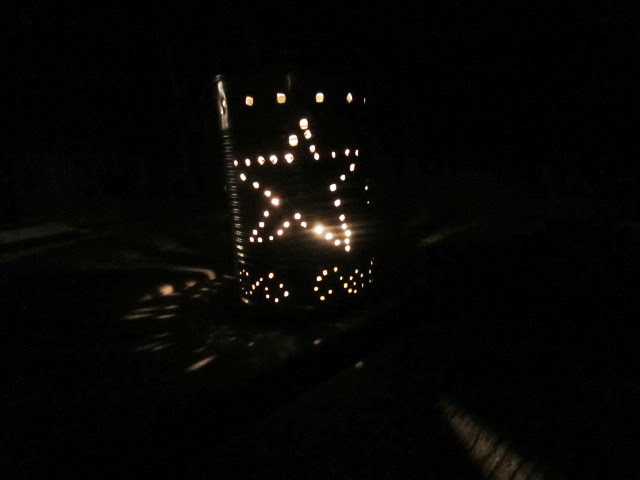
Here is my completed lantern. I think it turned out really well and I love that the candlelight goes through the lantern and spreads the light in the designs. I love it!
If you put a whole bunch of lanterns together in a trefoil it makes for lovely pictures!

No comments:
Post a Comment