Monday, April 21, 2014

Make it Mondays: Milk Carton Meals

Did you know you can cook an entire meal (dessert included) by lighting a milk carton on fire? Well you can! This Make it Monday is all about Milk Carton Meals!
I learned this method of cooking about 10 years ago at a camp training I went to and it has always been a success. Let me know if you try it out and enjoy!
 
 
The easiest meal to make with this is a hamburger bun pizza because all you are really doing is melting the cheese and heating it up.
Step One: Make a pizza on each half of a pizza bun. Remember the more toppings you have the longer it will take to heat up.
 
 
Step Two: Fold your hamburger bun into a sandwich and put it in the middle of the tinfoil.
 
 
Step Three: Wrap your pizza up in tinfoil so no inside bits are showing. It works best to have a layer of tinfoil, followed by a layer of damp newspaper so the tinfoil won't burn, and then another layer of tinfoil.
 
Chipmunks are on the menu for dessert. You need two two-bite brownies and some kind of mint chocolate candy like a peppermint patty.
 
 
Step Four: Squish them all together.
 
 
Step Five: Wrap them in tinfoil they way you did the pizzas.
 
 
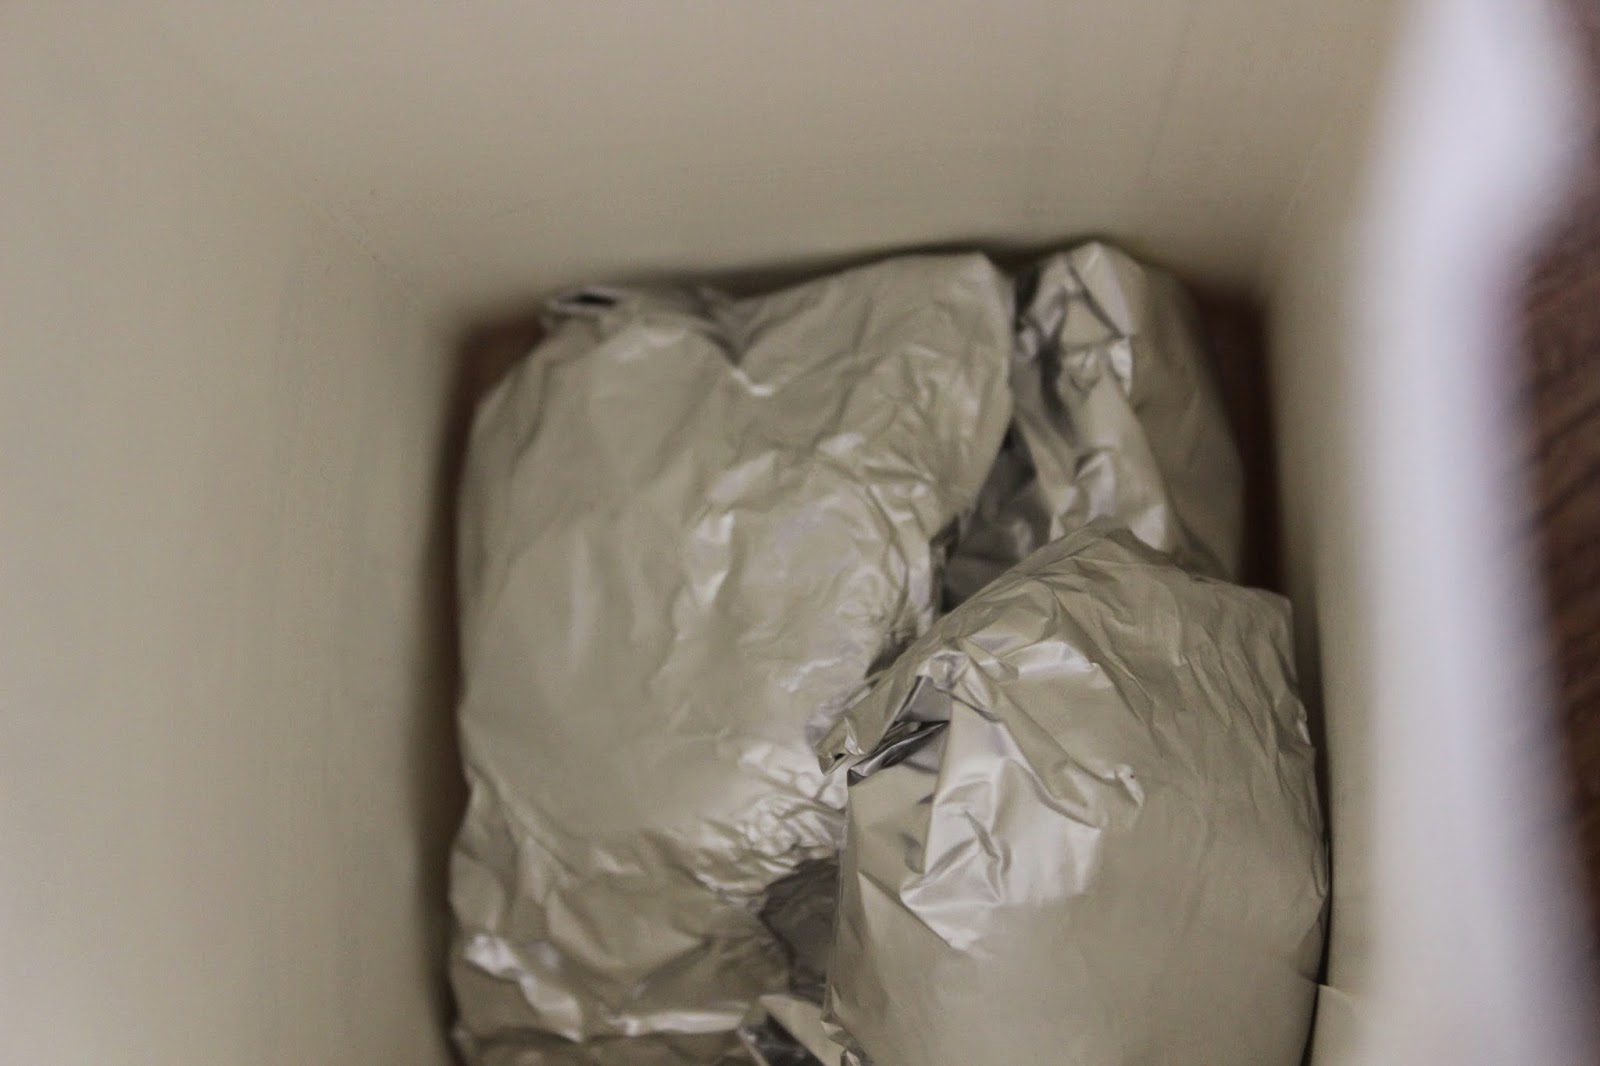
Step Six: Put your tinfoil masterpieces in the bottom of a 2L milk carton. It has to be the paper ones- plastic (obviously) won't work!
 
 
Step Seven: Put your milk carton in a safe place like a snow bank (like we did) or a fire pit in the summer.
 
 
Step Seven: Light it on fire! It will only work if you light it from the very top of the carton.
 
 
Step Eight: Watch it burn!
 
 
Step Nine: When it is all burnt down and the fire is gone you can use some tongs to pick up your foil package. Dispose of any remaining milk carton.


Step Ten: Unwrap your foil package and enjoy!

Thursday, March 20, 2014

Science Centre Sleepover!

A few weeks ago I was lucky enough to go as an extra leader to a sleepover with two guide units and a pathfinder unit at the science centre! It was a lot of fun and I thought I would share a few pictures with you about my night. Enjoy!
 
 
Trying to get the attention of 55+ girls is quite a challenge, especially when they are so excited to get their sleepover started!
 
 
Just setting the table on fire with colourful flames... no big deal.
Actually it is a huge deal! You could have heard a pin drop while the girls were watching and participating in this science demonstration. Yay science!
 
 
The feature exhibit was all about animatronics and their use in film (aka the place in which Shannon geeks out over a burnt up parrot from Peter Pan and other cinematic wonders) there were trunks all around with different travel stickers and this one was my favourite. It is just so cool to see NeverEverEverLand on a London tube sign! Where can I get a ticket to there?
 
 
There was also this really cool Titanic one that I had to take a picture of. No Titanic animatronics though. :(
 
 
Warning! The next few pictures show leaders having fun! That can happen you know! All of the girls who were walking past us just shook their heads and looked very embarrassed (also known as Mission Accomplished!)
 
 
Heather being eaten by a codfish loving, clock ticking crocodile.
 
 
Here we are imitating the polar bear and yeti (?) in the background talking on an old Nokia phone. . Has anyone seen the movie these are from? I don't understand...
 
 
Another imitation- we should basically just get all the parts in the movies.
 
 
The good thing about going to the science centre when it is not open to the general public is that you can go in the discovery area if you are over the age of 8!
 
 
As you can see fun was had by leaders and girls alike. Their house turned out pretty cool!
 
 
The next morning the girls got to solve a crime in the forensics lab and play around with the lights and sirens on the police car.
 
 
To finish there was a snake. It was a pretty cool snake that a lot of the girls got to hold. Overall it was a great sleepover!

Monday, March 3, 2014

Make it Monday: Birthday Party in a Box!

This is a bit of a different kind of Make It Monday, instead of being a craft or a meal, this is a service project! A few years ago my area started doing something called Birthday Party in a Box. This service project is exactly as it sounds- everything you would need to throw a birthday party in a box that is donated to the Food Bank for a child who would need it. I love party supplies and I cannot imagine the look on a child's face when they got one of these to share with their friends and family. I just want to share the idea and show how I made mine.
 
 
I got everything in the box from Party City. I thought this theme was adorable and it is pretty general- not like Tinkerbell or Dora the Explorer which limits who would want the box.
 
 
Party City had a set of loot bag treats that I decided to get that included a little maze game, butterfly toy, ring, top, whistle, and glasses. I also decided to add a lollipop, temporary tattoos and a pencil. All in the theme of course! :)
 
 
I loved the side of the loot bags- it is so pretty!
 
 
Here are the tablecloths, cups, plates, and napkins.
 
 
I think it is nice to include a gift for the birthday child in the Birthday Party in a Box. The wrapping paper is amazing and I am so glad I have some left!
 
 
Whenever I am donating gifts to things like this or Santa's Anonymous I always give a journal. I have written in a journal for as long as I have been able to write and I think that writing can be very therapeutic, so I pass on the gift of writing to the kids who need it. I also loved this puzzle (how inspirational!) and a Littlest Pet Shop. Basically I chose the things I would have liked to receive. :)


What is a birthday party without a cake and candles?
 
I put a sign on the outside of the box just to make it a bit more special. I have used an apple box with a removable lid that you can wrap like a present before, but the Food Bank probably has to see what is inside so this is what it looks like!
 
Is this service project something you would do? It is certainly a lot of fun to do and it is an awesome idea! I will be doing this with my Guides in a few weeks too and will be happy to share what they bring as well. Overall this cost about $100, if you were to divide it up and put a box together as a unit it would be a very affordable project. I think it is totally worth it for the happiness you would bring to a child!
 
Thanks for reading!

Friday, February 28, 2014

A Night in the Past: Fort Edmonton Sleepover!

 
My Guide Unit had a sleepover at Fort Edmonton a few weeks ago and it was a ton of fun! I took a lot of pictures and wanted to share a few with you!
(I think that is how all my posts have started lately- but I guess that is what happens when you do a lot of events and not a whole lot else!)
 
 
The Fort was almost eerie in the cold and quiet night. It is a truly different experience being there in the winter when there is no one else there. I really enjoyed myself!
 
 
The girls got to start of the night by making some bannock on a stick. It worked pretty well and they really enjoyed eating it right off the stick- classic Girl Guide move!
 
 
The Guides got to try their hand at beading with sinew and beads. I wish we got to do the traditional beading, but this was fun too!  
 
 
Our interpreter was fantastic. He had a very captive audience as he told fur trade tales by the glowing fire. We could have listened for hours.
 
 
The girls got to make a travois as a team and carry firewood from one end of the room to the other. I was really impressed with what they could do and I was shocked that none of them fell apart!
 
 
The lighting was just beautiful on Rowand House in the morning I couldn't resist to take a few shots.
 
 
We finished off our morning activities with a snowshoe romp through the park. These snowshoes were a lot harder to maneuver than the ones I used at the Groundhog Camp, but gave a huge appreciation for the people who had to use them to get around.
 
 
It was a great weekend event and even if it was a little bit pricey. I would definitely recommend it as it is a little bit different than your typical sleepover. The girls had a lot of fun and earned two interest badges! Snowshoeing and Provincial Heritage! Great job girls!

Sunday, February 9, 2014

Groundhog Day Camp!

Last weekend I was lucky enough to go to camp with a Guide unit in my district and I wanted to share a few photos of my experience. This was the first Guiding event that I had my new camera so I took a ton of photos. It was a lot of fun! Enjoy!

There is nothing like starting a Guide Camp with a dance party! These girls were so much fun to camp with and their enthusiasm and joy were infectious!
This is the beautiful morning view from the deck of the building we were staying in. I had never stayed at this facility before so I really enjoyed trying something new. Plus this view was incredible!
One of the things I really enjoy about this unit is that they have a lot of traditions that they keep to, like flag raising every morning of camp. Even though it was chilly and a bit windy the girls tromped a horseshoe in the snow, sang O Canada and got day one of camp off to a great start!
One of the main parts of their program they were working on this weekend was their snowshoeing badge so we took a three hour "hike" down the trail. Now when I say hike- I mean for the girls; for me it was more of a try not to fall over and laugh it off when I trip over my own feet. You know that feeling when you know you are going down and there is nothing you can do about it? That was me 85% of the morning...
I love experimenting with light in photography- especially with my new camera (which I am in love with!) so I thought this shot of the frozen wetland was quite nice.
Nothing like the Guide Motto made of snow to make you smile! I like this a lot because it was the girl who went on a night hike's  idea to leave it as a surprise for the snowshoeing in the morning. It was cool to just stumble across it.
Cue Shannon wanting to capture the insane beauty of Alberta winters with a new camera (how many times have I said new camera so far?) Here are some trees... ooh ahh
Here are some pussy willows- it is not spring yet!
Here is an interesting cloud formation. Aren't you glad you are reading this right now? Hehe

Here is a little baby squirrel. He was so very cute I have a small photo shoot of him on my memory card. He was just so chubby and adorable. Too bad he is probably filled with diseases...

Here is some cool looking fungus on a stick. The red really stuck out in the snow and I thought it looked really neat!
The girls decorated the main room of the building with safety posters they had made at a meeting. This one was my favourite; it says "if the whistle blows, everyone goes!" I was pretty impressed with some of the slogans they came up with- some advertisers should get in contact with them for a campaign!
We were lucky enough to have a session on fire building with some of the program leaders who work out where we were staying. First everyone (including leaders!) worked on some knife safety and eventually ended up carving up a feather stick to use on a fire later on. I was very impressed with the girls in this activity and considering they had not really used knives before, the fact that everyone left with all of their fingers was a great success!
Most of the girls had never used a flint and steel before and they actually got a fires started with them which was fantastic! I left the session with a strong desire to get one of my own!
Here is the roaring fire we cooked bannock on for a tasty treat. I really enjoyed the session and learned a lot!

One of the traditions the unit has is to do a project each year so the first years make a pillow, the second years a blanket, and the third years a teddy bear. It was a lot of fun helping the girls make these no sew blankets. It does not take very long and it is a useful craft! (I am sure I will talk about my feelings on some crafts later on on this blog somewhere...)
It was one of the leaders birthday on Saturday so we of course had to have cake! It was delicious!
Here are the supplies for a classic camp hat craft. Any ideas what it is? Hint: look at the picture below...
The classic yarn/ toilet paper roll toque! This is a really easy craft that cannot not be messed up even if you try it is so simple. If you would like a quick tutorial let me know!

Overall I had a great weekend and I am thankful that I got to go to camp with these girls!
Thanks for inviting me!